Deploy on Meta Quest 3
The fastest way to experience IRIS on a Meta Quest 3 is to install the pre-built APK provided by the team. Follow the sections below to prepare your headset, download the build, and deploy it with Meta Quest Developer Hub (MQDH).
Prerequisites
- Meta Quest Developer Hub installed on your workstation: Download MQDH.
- Meta Quest 3 with Developer Mode enabled and a USB-C cable for data transfer.
- Meta account with the headset paired so that MQDH can detect the device.
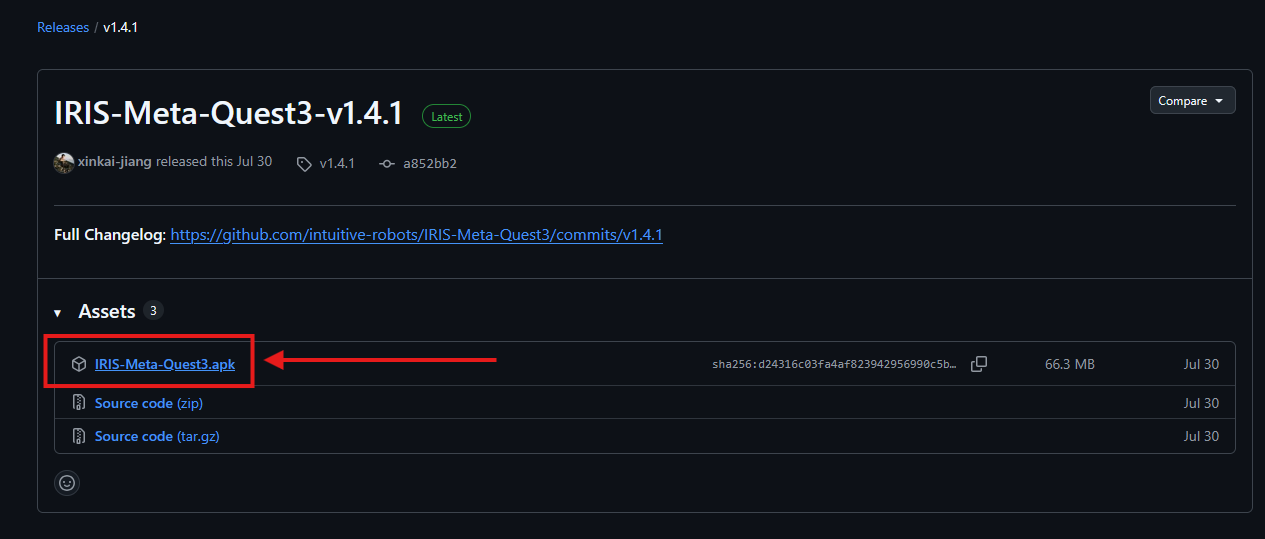
1. Download the IRIS build
- Browse to the latest release on GitHub: IRIS-Meta-Quest3.
- Download the most recent
.apkasset from the release page.
2. Connect the headset
- Power on the Meta Quest 3 and connect it to your computer with the USB-C cable.
- Put on the headset to confirm the Allow data access prompt so MQDH can communicate with the device.
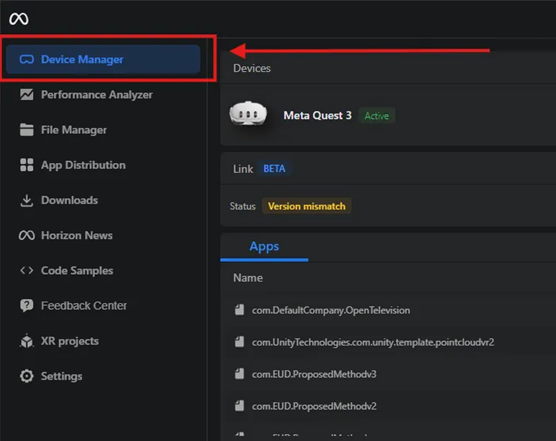
3. Install the APK with MQDH (recommended)
- Launch Meta Quest Developer Hub and open the Device Manager tab.
- Click Add Build, choose the APK you downloaded, and confirm. MQDH will create a build entry.

- In the build card that appears, select the connected headset and press Install. MQDH displays progress while sideloading the app.
- Wait for the status to change to Installed before disconnecting the headset.
4. Verify the deployment
- Put on the Meta Quest 3, open the Apps panel, and switch to the Unknown Sources filter.
- Launch the IRIS application. The splash screen should appear within a few seconds.
- Confirm network access and sign in if prompted.
Troubleshooting
- Device not detected: Re-seat the USB cable, re-open MQDH, and confirm Developer Mode is enabled in the Meta Quest mobile app.
- Install button disabled: Ensure the headset is awake and unlocked while MQDH performs the sideload operation.
- App missing under Unknown Sources: Reboot the headset, then repeat the installation. MQDH logs appear in the bottom panel if additional detail is needed.